Leditnow Blog
Blog LEDITNOW
Ιδέες για LED ταινίες!
03-10-2016
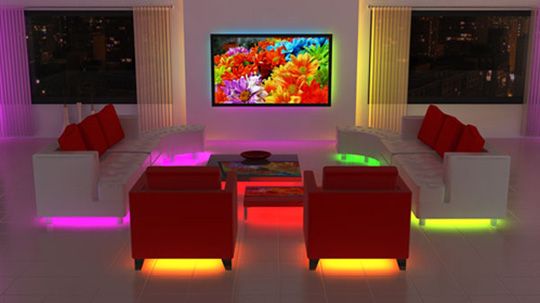
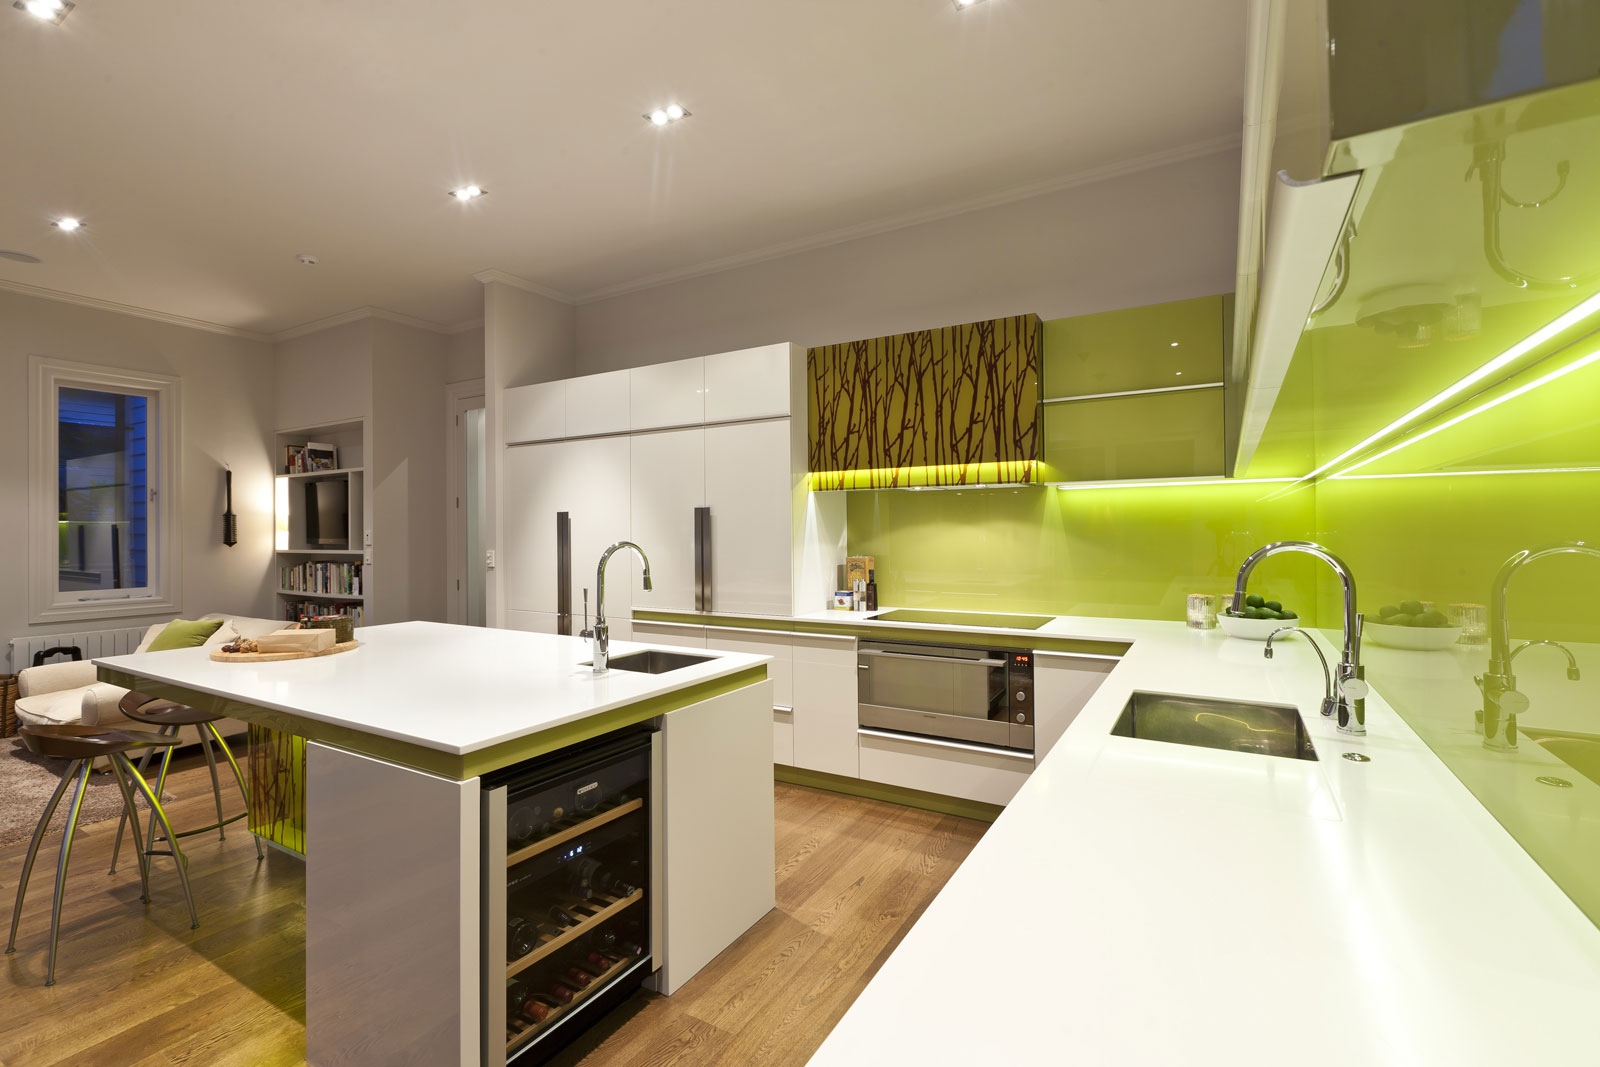
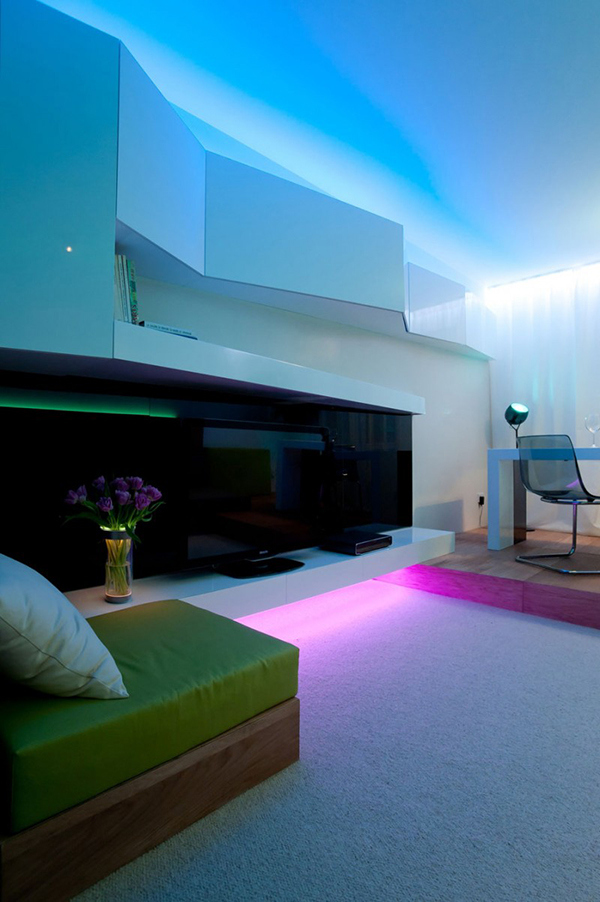
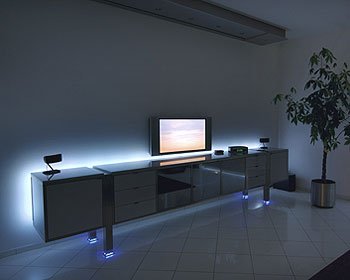
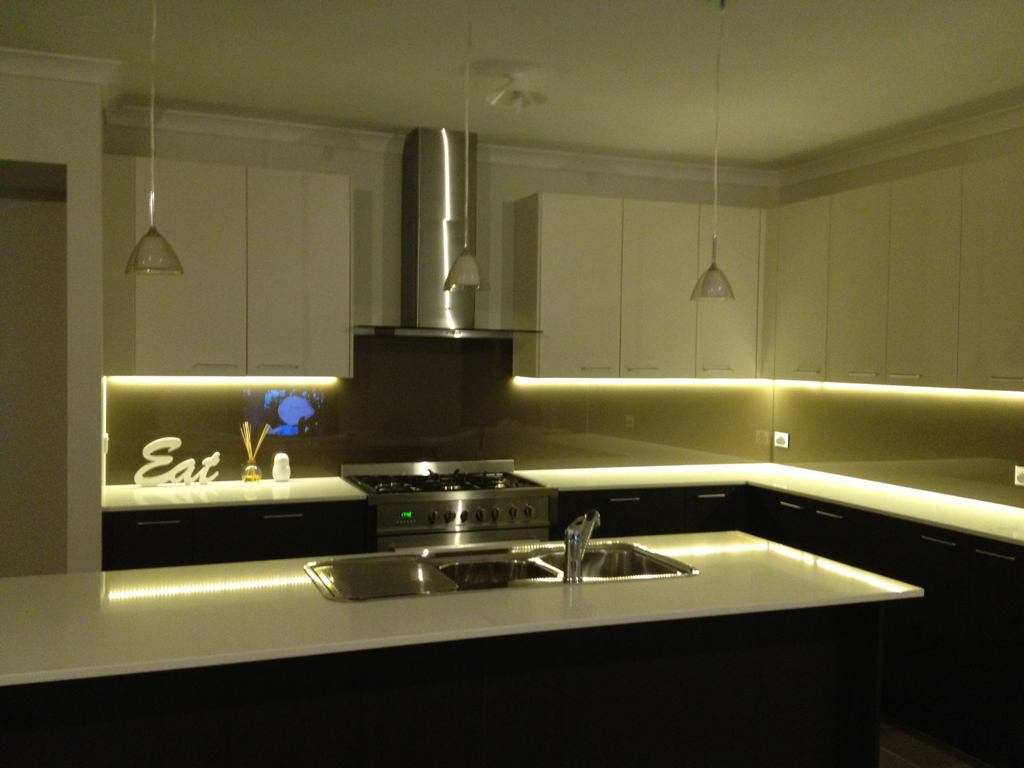
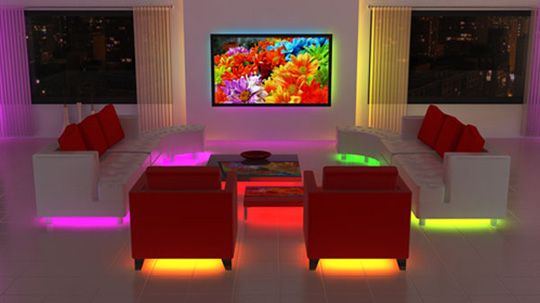
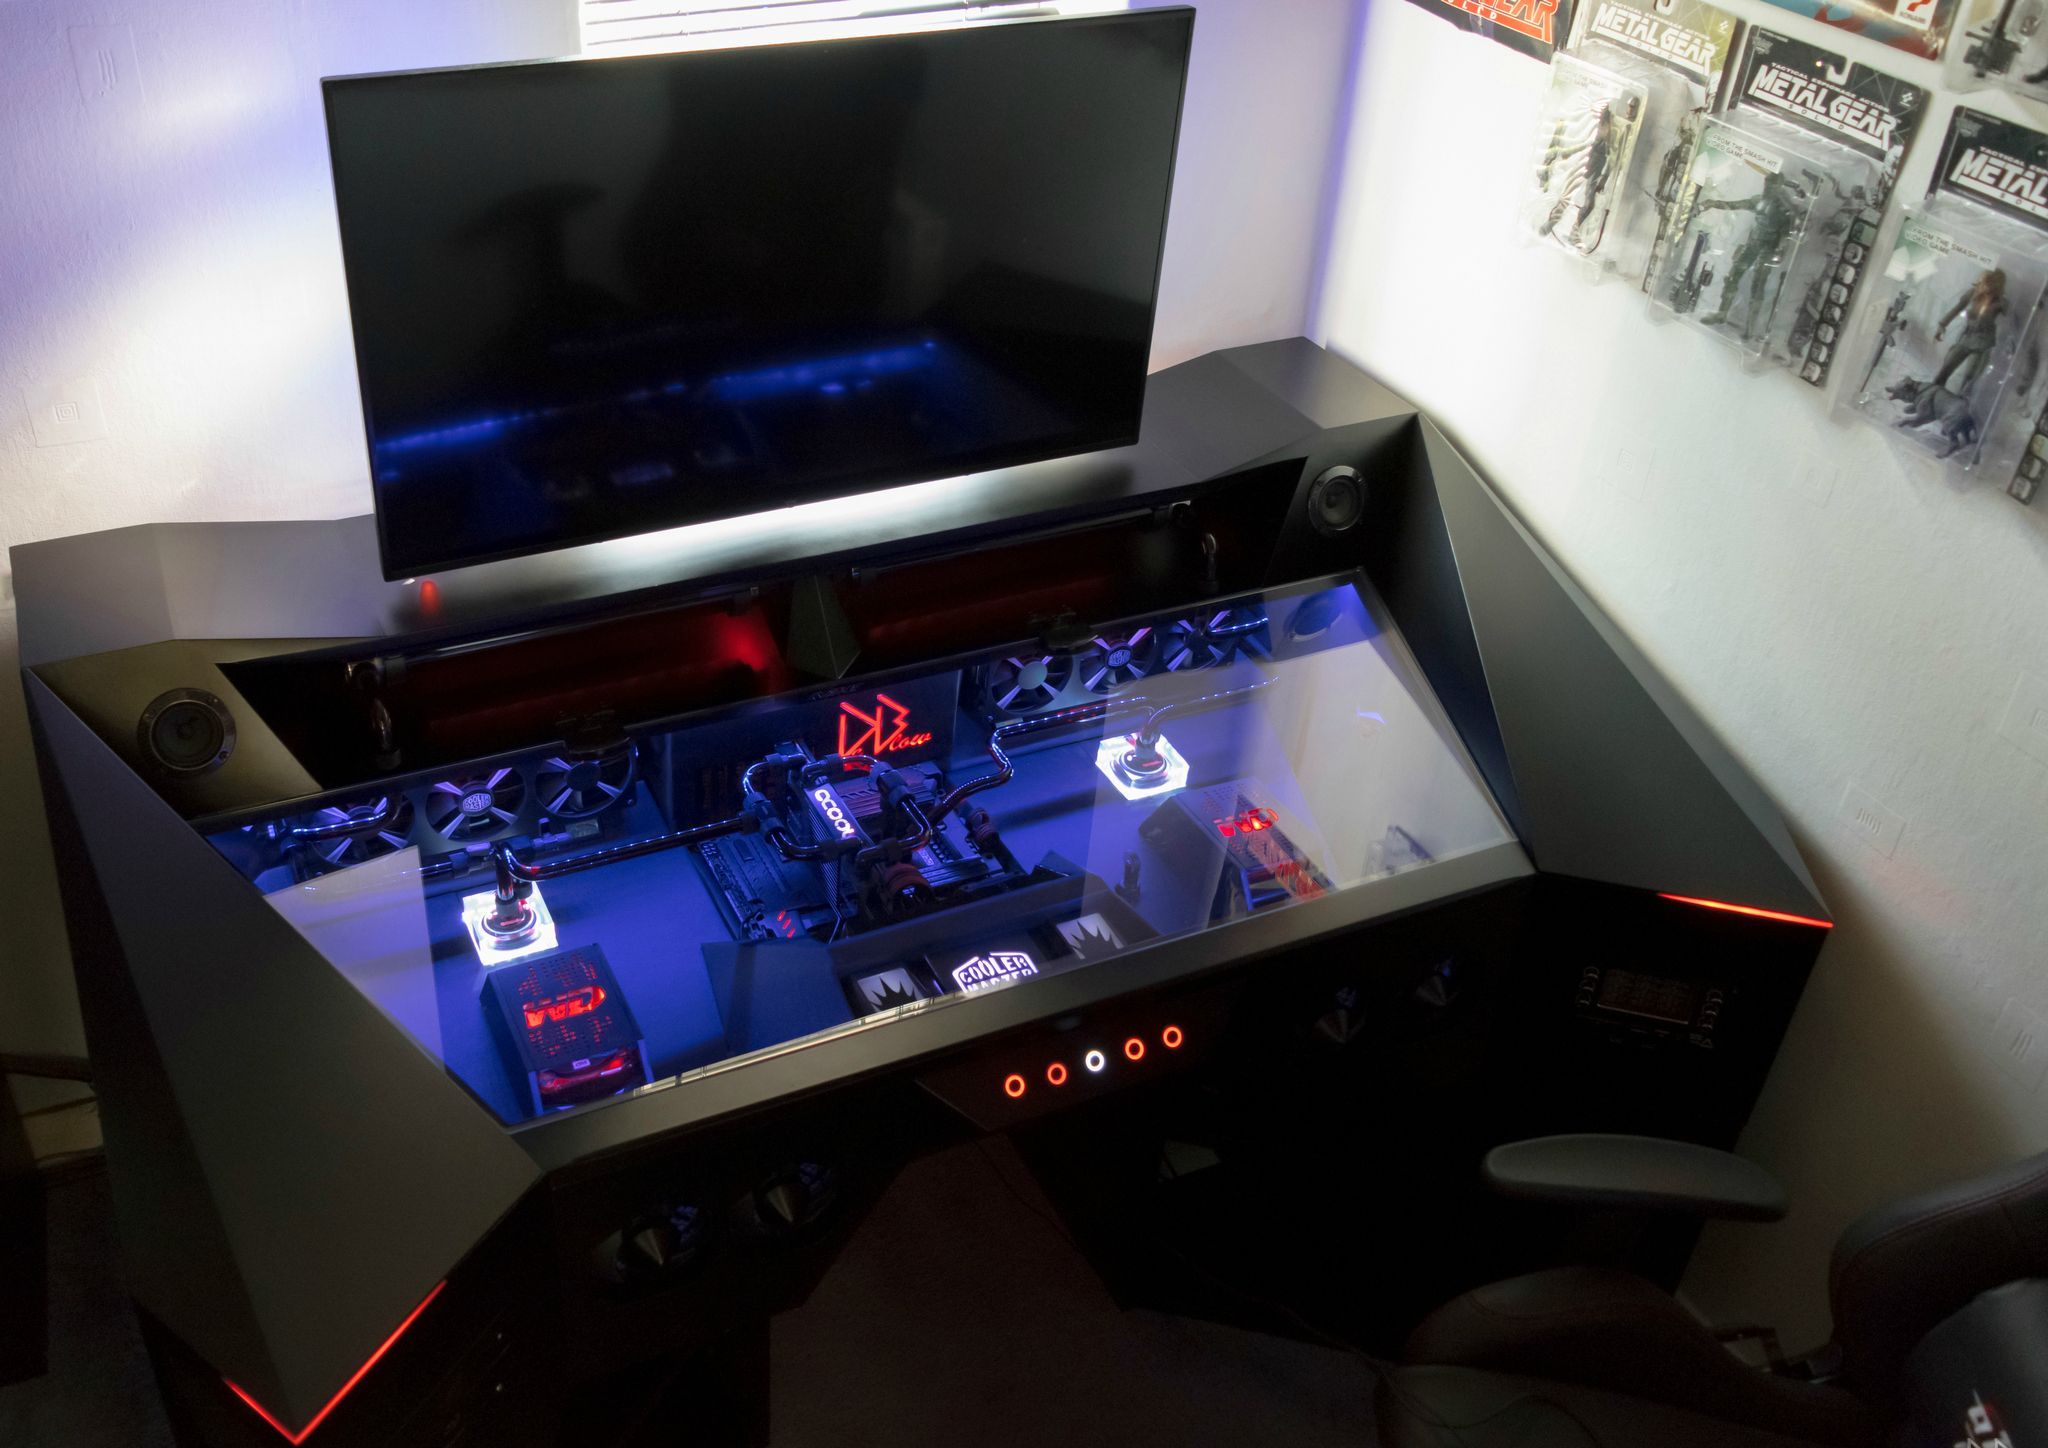
Με τη χρήση των led ταινιών μπορεί κάποιος να δημιουργήσει κρυφό φωτισμό οπουδήποτε θελήσει εύκολα και απλά. Τοποθετείτε άνετα στο δάπεδο, σε έπιπλα, στις σκάλες, σε πόρτες, γύψινα και όπου αλλού εσείς θελήσετε.
Ονειρευτείτε πως θα θέλατε να φαντάζει ο χώρος σας και βάλτε τη φαντασία σας να δουλέψει.
Δειτε μερικά παραδείγματα
Πρόσφατες δημοσιεύσεις
-
27-09-2024Πώς να Εγκαταστήσετε Φωτοβολταϊκά 5kW στο Μπαλκόνι σας με Μπαταρία Χωρίς Επιστροφή Ρεύματος στο Δίκτυο
-
03-04-2024Μπαταρίες Για Φωτοβολταϊκά Πάρκα 100Mw
-
03-03-2024Οδηγός Αγοράς Βάσης Στήριξης Φωτοβολταϊκών
-
29-02-2024Οδηγός: Αυτόνομο Φωτοβολταϊκό για Εξοχικό
-
26-02-2024Exploring the Best Greek Places for Authentic Vibes
-
24-02-2024Που θα βρω μαροκινα φωτιστικα
-
11-02-2024Τα ηλιακά πάνελ θα διαρκέσουν 25 χρόνια;
-
11-02-2024Είναι τα ηλιακά πάνελ πιο αποδοτικά από ό,τι πριν από 10 χρόνια;
-
11-02-2024Γιατί τα κινέζικα ηλιακά πάνελ είναι φθηνότερα;
-
11-02-2024Τα ηλιακά πάνελ λειτουργούν τη νύχτα;
-
11-02-2024Πόσο μεγάλη μπαταρία χρειάζομαι για το ηλιακό σύστημα;
-
11-02-2024Πόσα ηλιακά πάνελ χρειάζονται για να τροφοδοτήσει ένα σπίτι;
-
03-02-2024Είναι αρκετός μετατροπέας 5 kW για να λειτουργήσει ένα σπίτι;
-
02-02-2024Θερμοκρασία Χρώματος: Διάλεξε την Ιδανική Λάμπα
-
02-02-2024Πόσο αποδοτικά είναι τα ηλιακά πάνελ 20 ετών;
-
02-02-2024Εξακολουθούν να βελτιώνονται τα ηλιακά πάνελ;
-
31-01-2024Πόσα lumen είναι καλά για φωτισμό γραφείου;
-
31-01-2024Ένα γραφείο πρέπει να είναι σκοτεινό ή φωτεινό;
-
31-01-2024Ποιος είναι ο καλύτερος φωτισμός για διάβασμα;
-
30-01-2024Τι επίπεδο Lux πρέπει να είναι ένα γραφείο;
-
30-01-2024Συναρπαστικά άρθρα σε μια ποικιλία θεμάτων monomaxos.gr - Ενημερώσου τώρα!
-
28-01-2024Ποιοι είναι οι 3 κανόνες του φωτισμού;
-
28-01-2024Μπορεί τα φώτα να είναι πολύ έντονα σε ένα γραφείο;
-
28-01-2024Πώς φωτίζετε ένα δωμάτιο γραφείου;
-
27-01-2024Τι είναι το Net Metering;
-
27-01-2024Ποιο είδος φωτισμού είναι καλύτερο για ένα γραφείο;
-
27-01-2024Ποιοι είναι οι κανόνες φωτισμού για τα γραφεία;
-
27-01-2024Τι είναι ο τυπικός φωτισμός γραφείου;
-
27-01-2024Τι είδους φως χρειάζεστε για ένα γραφείο;
-
27-01-2024Τα φώτα LED είναι καλύτερα για το γραφείο;
-
27-01-2024Τι χρώμα LED είναι καλύτερο για το γραφείο;
-
24-01-2024Τα ηλιακά πάνελ είναι όλα DC;
-
23-01-2024Ποια είναι η τάση ενός φωτοβολταϊκού συστήματος;
-
21-01-2024Πώς λειτουργεί ένα φωτοβολταϊκό σύστημα;
-
21-01-2024Είναι καλύτερο το ηλιακό από το φωτοβολταϊκό;
-
21-01-2024Ποιοι είναι οι 3 τύποι ηλιακών συλλεκτών;
-
21-01-2024Ποια είναι η νέα τεχνολογία για τα ηλιακά πάνελ;
-
21-01-2024Είναι τα φωτοβολταϊκά ηλιακά πάνελ;
-
21-01-2024Είναι το φωτοβολταϊκό ρεύμα;
-
21-01-2024Τι είναι το ηλιακό MPPT;
-
21-01-2024Ανιχνευτής Κίνησης: Επιλέξτε τον Ιδανικό
-
21-01-2024Οδηγός: Κρυφός φωτισμός στην κουζίνα ιδέες
-
20-01-2024Το φωτοβολταϊκό ρεύμα είναι AC ή DC;
-
19-01-2024Τι εννοείς φωτοβολταϊκά;
-
19-01-2024Ποια είναι η διαφορά μεταξύ ηλιακού και φωτοβολταϊκού;
-
17-01-2024Οδηγός Sonoff: Έξυπνη οικιακή αυτοματοποίηση
-
17-01-2024Όλα όσα πρέπει να ξέρετε για το LED Dimming: Επιλογές & Συμβουλές
-
16-01-2024Πώς Μπορω Να Βαλω Φωτοβολταικα Στο Σπιτι Μου
-
16-01-2024Πωσ Μπορω Να Βαλω Φωτοβολταικα στο Χωραφι Μου
-
14-01-2024Οδηγός Επιλογής Προβολέων LED Εξωτερικού Χώρου
-
14-01-2024Επιλογή Τροφοδοτικού για LED Ταινία - Tips & Συμβουλές
-
13-01-2024Οδηγός: Πως Ενώνω Ταινίες Led Εύκολα & Γρήγορα
-
13-01-2024Οδηγός: Τι Είναι Το Προφίλ Αλουμινίου Για LED & Χρήσεις
-
13-01-2024Πόση ενέργεια μπορείτε να εξοικονομήσετε με LED λάμπες;
-
13-01-2024Οδηγός Πωσ Αλλαζω Λαμπα Led Βήμα Βήμα
-
12-01-2024Φωτιστικό Κρεμαστό: Μοναδικά Σχέδια για το Σπίτι
-
11-01-2024Φωτιστικό για Πάγκο Κουζίνας: Επιλογές & Στυλ
-
10-01-2024Πως Φτιάχνω Φωτιστικό με Σχοινί Εύκολα και Γρήγορα
-
10-01-2024Φωτοβολταικά Με Μπαταρία ή Χωρίς
-
09-01-2024Τι Φωτιστικό Να Βάλω Στην Τραπεζαρία
-
09-01-2024Οδηγός Επιλογής: Τι Φωτιστικό Να Βάλω Στο Διάδρομο;
-
09-01-2024Οδηγός: Τι φωτιστικό να βάλω στο μπάνιο;
-
09-01-2024Επιλογή Αερόθερμου: Τι Αερόθερμο Να Πάρω;
-
08-01-2024Φωτοβολταϊκά Πώς Λειτουργούν: Οδηγός με απλά Λόγια
-
08-01-2024Τι Φωτιστικό Να Βάλω Στην Κουζίνα; Οδηγός Επιλογής
-
08-01-2024Οδηγός Αγοράς Εξυπνο Φωτιστικό για το Σπίτι
-
08-01-2024Λάμπες Νέον Για Δωματιο: Διακόσμηση & Στυλ
-
08-01-2024Οδηγίες Πώς Συνδέω Φωτιστικό Οροφής Απλά
-
08-01-2024Οδηγός: Τι φωτιστικό να βάλω στην κρεβατοκάμαρα;
-
08-01-2024Οδηγός Επιλογής: Τι φωτιστικό να βάλω στο σαλόνι;
-
08-01-2024Φωτιστικό που Αλλάζει Χρώματα για Στυλάτο Δωμάτιο
-
07-01-2024Φωτοβολταϊκά Στη Στέγη: Επενδύστε στην Ενέργεια
-
07-01-2024Μικρά Φωτοβολταϊκά για Τροχόσπιτα - Ενέργεια Εν κινήσει
-
07-01-2024Φωτοβολταικά Πάνελ 500W Τιμές - Βρείτε Ευκαιρίες!
-
07-01-2024Ποια Φωτοβολταϊκά Είναι Καλύτερα; Οδηγός Επιλογής
-
07-01-2024Οδηγός: Πώς καθαρίζω φωτοβολταϊκά αποτελεσματικά
-
07-01-2024Οδηγός: Πως να Φτιάξω Αυτόνομο Φωτοβολταϊκό
-
06-01-2024Φωτοβολταικά ή Ανεμογεννήτρια: Τι να Επιλέξετε;
-
06-01-2024Αυτόνομο Φ/Β με Ανεμογεννήτρια 2024
-
06-01-2024Ανεμογεννήτρια για Σπίτι: Οικολογική Ενέργεια
-
06-01-2024Οδηγός Αυτονομα Φωτοβολταϊκά 3kW στην Ελλάδα
-
06-01-2024Οδηγός Σύνδεσης Ανεμογεννήτριας - Βήμα προς Βήμα
-
06-01-2024Οικιακά Φωτοβολταϊκά Συστήματα
-
06-01-2024Υβριδικά Φωτοβολταϊκά Πάνελ
-
06-01-2024Πώς να Αποκτήσετε Δωρεάν Φωτοβολταϊκά στην Ελλάδα
-
06-01-2024Τι Ινβέρτερ να Πάρω: Ποιο να επιλέξετε για σπίτι σας
-
06-01-2024Διαφορά Ινβερτερ Καθαρού Ημιτόνου: Οδηγός Επιλογής
-
05-01-2024Οδηγός Αγοράς: Ηλιακοί Προβολείς Εξωτερικού Χώρου
-
04-01-2024Γιατί Να Βάλω Φωτοβολταϊκά; Οφέλη & Κίνητρα
-
04-01-2024Πόσα Φωτοβολταϊκά Μπορώ να Βάλω στην Οικία μου;
-
04-01-2024Τοποθέτηση Φωτοβολταϊκών: Πού μπορώ να βάλω;
-
04-01-2024Φωτοβολταϊκά Συμφέρει ή Όχι; Η Απάντηση Εδώ!
-
03-01-2024Πόσα Πάνελ Χρειάζονται για 10kw στην Ελλάδα
-
02-01-2024Leditnow.gr
-
29-12-2023Υπολογισμός Φωτοβολταϊκών Πάνελ - Οδηγός Εγκατάστασης
-
29-12-2023Τι φωτοβολταικα πανελ να βαλω : Οδηγός Αγοράς
-
29-12-2023Χώρος Εγκατάστασης: Απαιτουμένη Επιφάνεια Φωτοβολταϊκών
-
29-12-2023Υπολογισμός kWh Φωτοβολταϊκών: Οδηγός Απόδοσης
-
29-12-2023Πόσα kw χρειάζεται ένα σπίτι 100τμ; Οδηγός Ενεργειακής Απόδοσης
-
27-12-2023Οδηγός Υπολογισμού Μπαταριών για Φωτοβολταϊκά

